
Artisan Sourdough bread is just beautiful to me! I don’t know if you are like me but when I first started baking sourdough I wanted to know most about baking an artisan sourdough bread loaf. The crusty edges, with a slab of homemade butter on top, yum. Let’s get to baking!
One of the reasons I love this recipe so much is because its simple and so delicious. It is a nice side with almost any dinner especially those homemade soups in the winter.
My family has gotten very use to the taste of sourdough over the bread we use to buy at the store and we will never go back! Sourdough bread is packed with so many good nutritious that it makes me feel so good to serve it to my family.
Nutritious Benefits of sourdough bread
Sourdough is great for people who have a harder time digesting gluten, the bacteria- yeast composition will start to breakdown the starches found in the grains before it even reaches your stomach. That means your gut can digest it much easier.
Sourdough is a fermented bread in the way it fosters good bacteria. It is such a good probiotic for your gut and keeps it working healthy. It contains higher levels of vitamins, minerals, and antioxidants than most other breads.
Sourdough bread is one of the oldest forms of leavened bread and was used at least as early as ancient Egypt.
Baking this bread I know looks intimidating at first but I promise you will get the hang of it and see what works for you. Just know by baking this bread you are feeding your family a heathy baked loaf of bread!
Flour Types for sourdough bread
What type of flour is best for sourdough?
You can use all types, I mainly use organic unbleached all purpose flour but anything will do: all purpose, freshly grained whole wheat, rye, einkorn or kamut flour.
What about my sourdough starter?
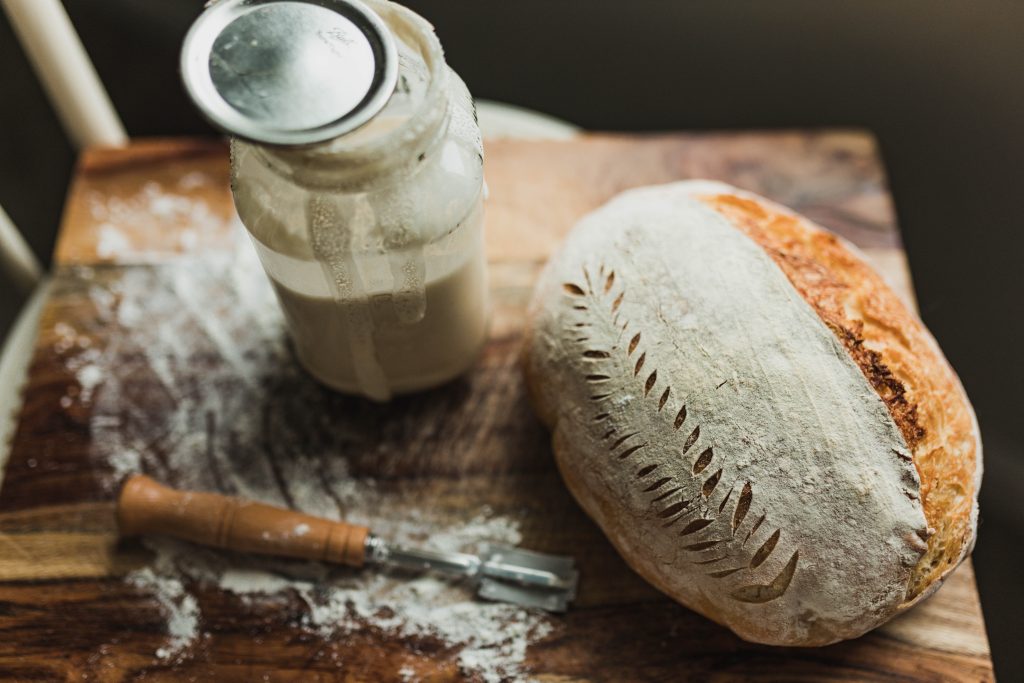
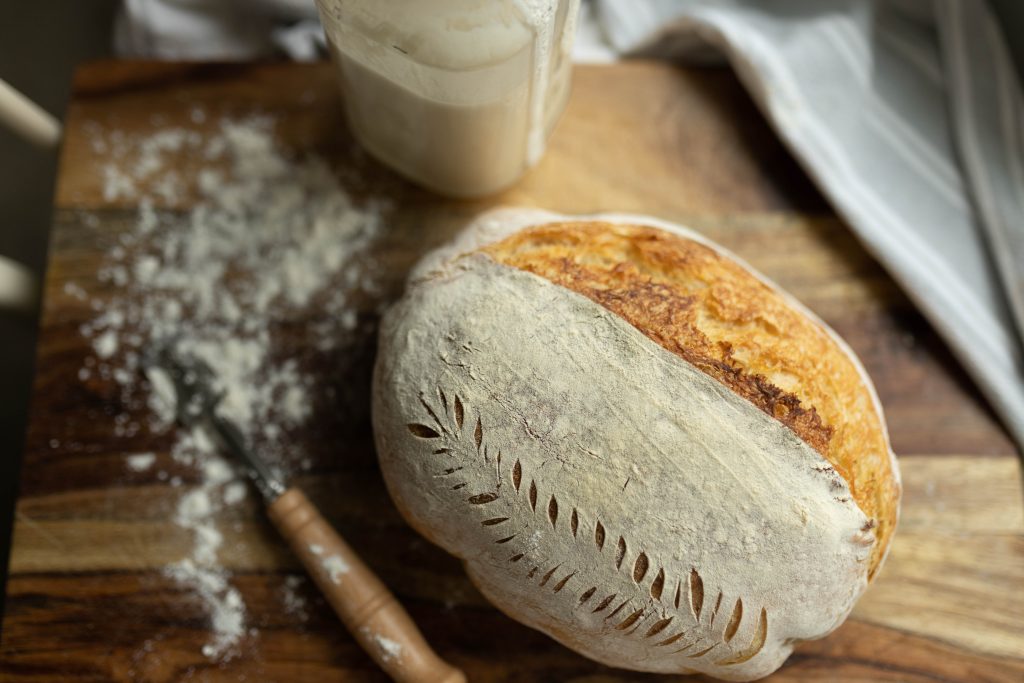
To be able to bake any artisan bread your starter needs to be active, meaning it needs to be bubbly and be fed within the past 4-12 hours. For your starter to be active it will have doubled in size. You can always do the starter test by taking a bowl of water and a spoonful of bubbly active starter and see if it floats in the water. If it does that means its fully active and ready to bake with.
Kitchen tools you may need
Ingredients
250 grams of active starter
500 grams of warm water (not hot it will kill the good yeast)
10 grams of salt (I use Redmens Real Salt)
750 grams of flour (If your starter is more hydrated you might need less)
Directions
First you will want to start out with getting 750 grams of flour in a bowl. Add 500 grams of warm water and mix then together until you get a shaggy dough. Let that sit for about 30 minutes with a damp tea towel over the bowl. Next, you will want to add your 10 grams of good quality salt to the shaggy dough. Once added pour in 250 grams of active sourdough starter. Mix well with your hands until you can see that all the salt is mixed in. After mixing salt and sourdough starter once again cover with a damp tea towel and let it rest for 45 minutes.
Stretch and Folds
Now we will start a series of stretch and folds. Stretch and folds are simply where you are going to pull up on one side of the dough in the bowl, and pull it up and fold it over to the other side of the dough. I will normally do two stretch in folds before I start doing coil folds. After you have let the incorporated dough sit for 45 minutes do two stretch and folds for the next two hours. Once those two hours are up and you have completed two folds you will now start coil folds.
Coil folds are simply where you get you finger tips damp with water then place them under the dough in the bowl and pull up and tuck under. You will do that all the way around the bowl with the dough. I normally will space these out every two hours or so. I try not to think so much into the sourdough process and just go with the flow. Sourdough is a art the more you make it the more beautiful it becomes. Don’t stress it!
Shaping
Once you have gone through a few stretch and coil folds you are now ready to shape your dough. To shape the dough divide I into two equal parts. You can use the scale to weigh and make sure they weigh the same amount. After dough has been divided lay dough on a clean surface very lightly floured. Lay dough into a rectangle shape and start folding edges into the middle until to forms a ball. Once a ball of dough comes together use the surface to pull the dough in and push it away with your hands to form tension in the dough.
Second Rise
After you have placed you shaped dough in a basket you will want to let your sourdough rise. Place a damp tea town over your baskets and place the dough in a warm area in your home. I normally will let the dough rise in the evening. When I go to bed I place them in the fridge in a grocery bag tied up. The cool air in the fridge will some what help the rise to slow down so they will not over proof.
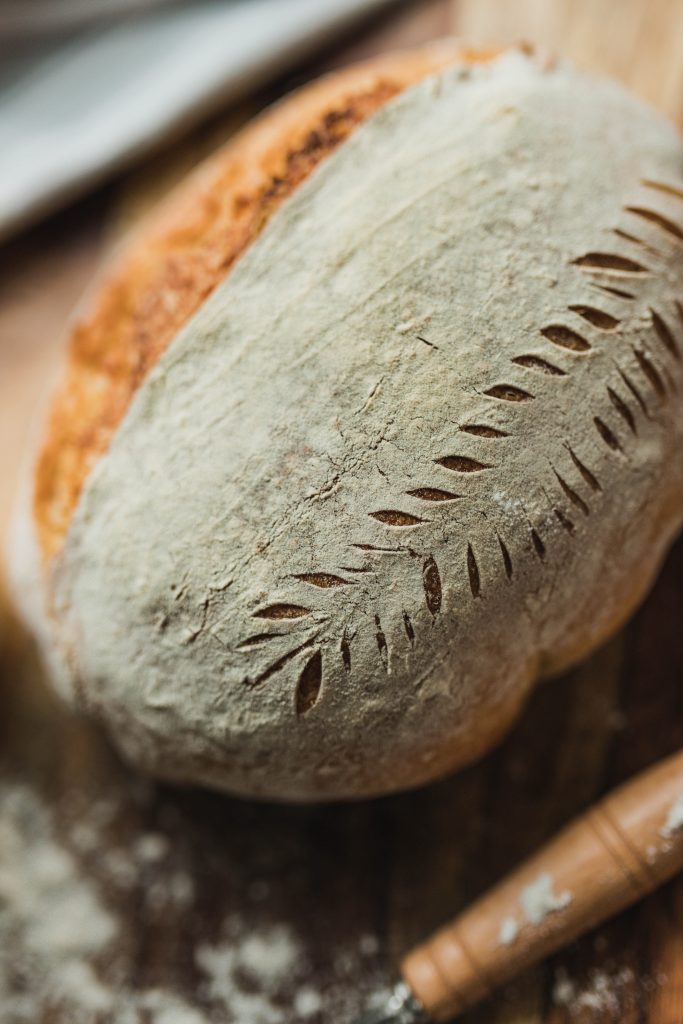
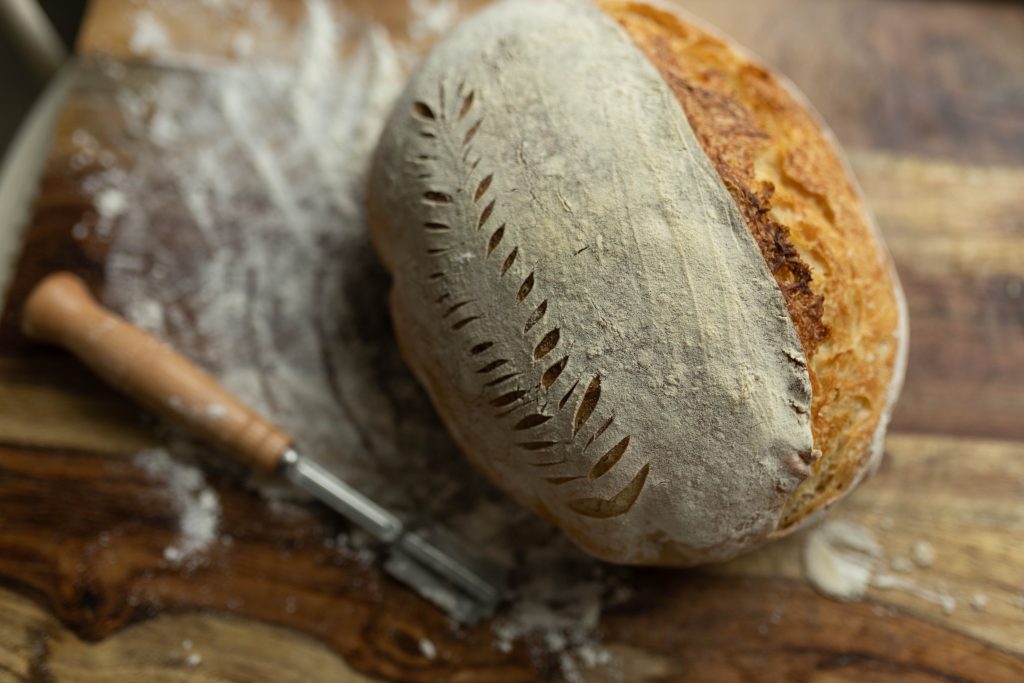
Scoring your Sourdough Loaf
Now you are ready to bake. First turn your oven on to 475 degrees and put your dutch oven in to let it heat up. Once fully heated take your sourdough out of the fridge and very gently take it out of the basket and place it on a sheet of parchment paper. Lightly dust the top of your dough with flour. (This is just to making you scoring more noticeable and pretty.) You can score how ever you would like with the design you have in mind.
Baking your Sourdough Loaf
Sourdough is now scored and ready to bake! Place sourdough into the dutch oven and cover with the lid. Bake your loaf in the oven with the lid on for 25 minutes. Once your 25 minutes are up take the lid off the dutch oven off and bake it for and additional 30-45 minutes depending one how crunchy you would like your bread. I normally take mine out and cover the bottom of the loaf with some butter so it is more tender to chew.
This breed is so good and beautiful! Please share your recipe and process!
Thank you so much! The process is in the blog post I hope you enjoy!
Good post. I learn something totally new and challenging on blogs I stumbleupon on a daily basis. Its always useful to read content from other authors and practice something from their websites.
Thank you so much! Glade you enjoyed!